Lobbystrike guides
Lobbystrike maps guide: every map and how to play it
Lobbystrike has 27 maps, and they fall into four groups that play nothing alike: islands you parachute onto, small arenas for fast team fights, multi-storey maps with roofs worth fighting over, and tight close-quarters maps where you are never out of a fight for long.
This guide goes through each group, says what every map is good for, and suggests a gun. If you are new, skip to the last section for the order we would learn them in.
The four kinds of map
| Group | Maps | Built for |
|---|---|---|
| Battle Royale islands | Kestrel Island, Ashford Isle, Redrock Atoll, Copperhead Coast | Solo, duo and squad Battle Royale; their towns also host the other modes |
| Arenas | Shipment, Dockside, Downtown, Outpost, Cul-de-sac, Neon District, Killhouse, Rustline, Warehouse | Every respawn, objective and round mode |
| Advanced maps | Bazaar, Railyard, Scaffold, Roadside, Whiteout, Marina, Foundry | Team Deathmatch; Marina and Foundry also host Snipers Only |
| Close-quarters maps | Depot, Catalyst, Pinewatch, Overgrowth, Rustyard, Backstreet, Lagoon | Short sightlines and constant contact |
The lobby only offers the maps that suit the mode you picked, so you can not end up with a Battle Royale in a shoot-house.
Battle Royale islands
Four islands, each with several towns, open ground between them and a coast. The towns are where the loot and the early fights are. They also serve as arenas: pick an island in a respawn mode and the match is played in one of its towns.
- Kestrel Island is the one to learn first: it is the default island, so it is the one you will land on most.
- Ashford Isle and Redrock Atoll have their own coastlines, hills and town positions. Same rules, different ground to learn.
- Copperhead Coast has a drier, sandier look than the other three.
Islands are where bullet travel really matters. Past 60 metres a round takes time to arrive and drops on the way, so aim ahead of a running target and a little above a distant one. Bring a marksman or sniper rifle with a 4x or better, and something quick for the towns. There are more drop tips in our piece on browser battle royale games.
Arenas
Small, flat or nearly flat, and quick. Fights happen at red-dot range. These run every mode that is not Battle Royale.
Cul-de-sac
Two family homes facing each other across a street, a stranded bus in the middle and a yard on each flank. New rooms open here by default, and it is the best all-round map in the game. The street is a death trap; the yards are how you win. Good for Hardpoint and Domination.
Neon District
A night plaza under a city skyline. An arcade hall on one side, a raised walkway over an alley on the other. Darker than the rest, so muzzle flashes give you away and a suppressor earns its slot.
Killhouse
A plywood shoot-house inside a hangar, with a catwalk along one wall. Plywood does not stop rifle rounds. If you know someone is behind a panel, shoot the panel. Shotguns and SMGs rule here, and it is the best place to play Gun Game.
Rustline
A desert refinery at sunset built around a three-level tower. Whoever holds the tower sees most of the map, and everyone knows it, so it changes hands constantly.
Warehouse
The small classic. Each team has a roofed bay behind a row of containers, a container deck with steps sits in the middle, and a timber shed watches each side lane. It is point-symmetric, so neither side has an excuse. Ideal for Gunfight and Search & Destroy.
Shipment, Dockside, Downtown, Outpost
A container yard, a port, a city block and a desert base, each built by hand. These are bigger and looser than the five above and suit larger rooms. Capture the Flag works well on them because there is room to run.
Advanced maps
These have height. Every upper floor and roof can be reached by an outside staircase, so a sniper nest always has a way in, and both teams spawn under cover out of sight of the far rooftops. A fall from a third-storey roof costs about a quarter of your health.
| Map | Setting | High ground |
|---|---|---|
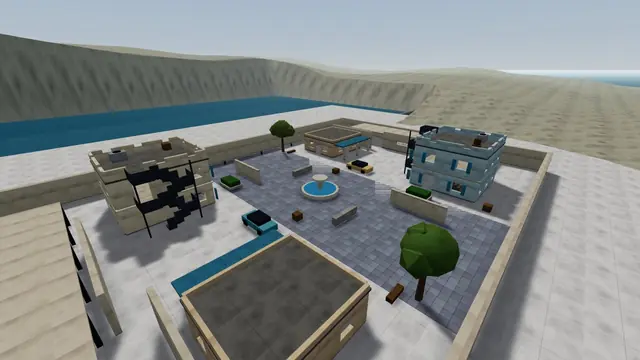
| Bazaar | Desert market square with stalls and a fountain | A three-storey tower house and a two-storey hotel on each side |
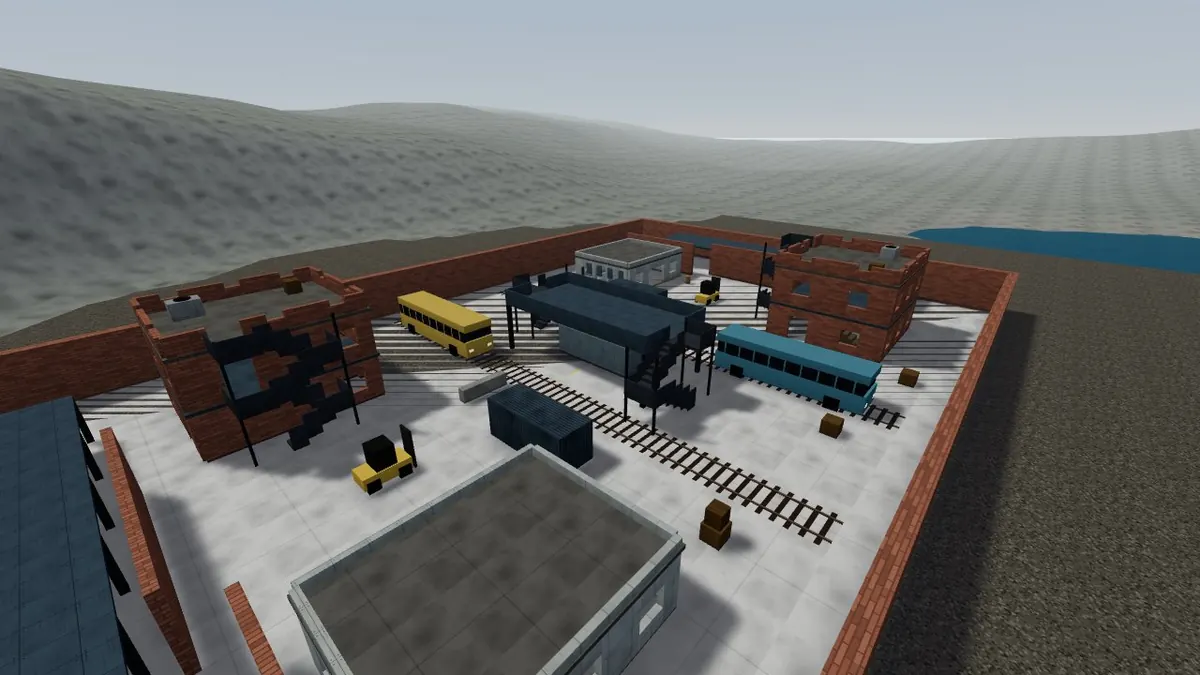
| Railyard | Freight wagons on three tracks | A footbridge over the tracks, a signal box, the shed roof |
| Scaffold | Building site around an unfinished concrete frame | Two open floors, plank ledges, stairs on all four sides |
| Roadside | Desert highway at dusk between a motel and a filling station | Motel walkway and roof, the garage roof |
| Whiteout | Arctic station in a snowstorm | A radar mast with two decks, a two-storey lab on each side |
| Marina | Coastal old town in daylight | Two-storey hotel roofs either side of a fountain square |
| Foundry | Tram maintenance depot in daylight | A central inspection deck, overlooked by a two-storey brick office on each side |
Bazaar through Whiteout are Team Deathmatch maps. Marina and Foundry are tighter 4v4 maps for eight players that also run Snipers Only, the bolt-action mode.
Two habits help on all of them. Look up before you cross open ground. And when you take a roof, do not stay on it: fire a few shots, then move, because the stairs behind you are the only way in and everyone can hear where you are. Bots fight from the ground on these maps, so the rooftops are a human problem.
Close-quarters maps
The newest group. These are compact maps built so that the next fight is always a few steps away, each with its own setting and its own light.
| Map | Setting |
|---|---|
| Depot | Timber shipping yard around a two-level warehouse |
| Catalyst | Refinery works |
| Pinewatch | Mountain village in the snow |
| Overgrowth | Jungle camp at sunset |
| Rustyard | Desert oil yard |
| Backstreet | Old town alleys |
| Lagoon | Island resort |
Bring something that wins at short range: an SMG, a shotgun or a fast assault rifle with a red dot. A scope is wasted here. Check corners before you cross them and keep moving, because standing still on a small map means someone is already behind you.
Which map for which mode
| Mode | Try it on | Why |
|---|---|---|
| Team Deathmatch | Cul-de-sac, any advanced map | Balanced spawns, clear lanes |
| Gunfight (1v1, 2v2) | Warehouse, Killhouse | Small and symmetric |
| Search & Destroy | Warehouse, Cul-de-sac, Rustline | Two clear routes to each site |
| Hardpoint, Domination | Cul-de-sac, Neon District | Zones with more than one entrance |
| Capture the Flag | Downtown, Dockside | Long enough for a real flag run |
| Gun Game, One in the Chamber | Killhouse | You are never far from the next fight |
| Snipers Only | Marina, Foundry | Long daylight sightlines, built for 4v4 |
| Wave Survival | Cul-de-sac, Rustline | Houses and a tower to hold |
The order we would learn them in
- Cul-de-sac, Team Deathmatch, bots on Easy. Learn the two flanks.
- Killhouse. Learn which walls you can shoot through.
- Warehouse, in Gunfight with a friend. Learn to play without respawns.
- Bazaar or Railyard. Learn to check roofs.
- Kestrel Island, Battle Royale solo. Learn the drop, then bullet drop.
A private room is the easiest place to do all five. Create one, set the bot count, and walk the map before you fight on it. The guns to bring are in the weapons guide, and setting up the room is covered in how to play with friends.
Questions and answers
How many maps does Lobbystrike have?
27 maps: 4 Battle Royale islands, 9 arenas, 7 advanced multi-storey maps and 7 close-quarters maps.
What is the best map in Lobbystrike for beginners?
Cul-de-sac. It is small, easy to read, works in almost every mode and is the default map for new rooms.
Which Lobbystrike maps are for Battle Royale?
Kestrel Island, Ashford Isle, Redrock Atoll and Copperhead Coast. Each supports solo, duo and squad matches.
Can I choose the map in Lobbystrike?
Yes. The room host picks the map and mode in the lobby, and players vote on the next map after each match.